Guides
How to Use a Custom Ringtone on iPhone
iOS will not accept an MP3 as a ringtone. Two routes to get one on there anyway — one needs a computer, one does not.
Published · Call Ringtone editorial
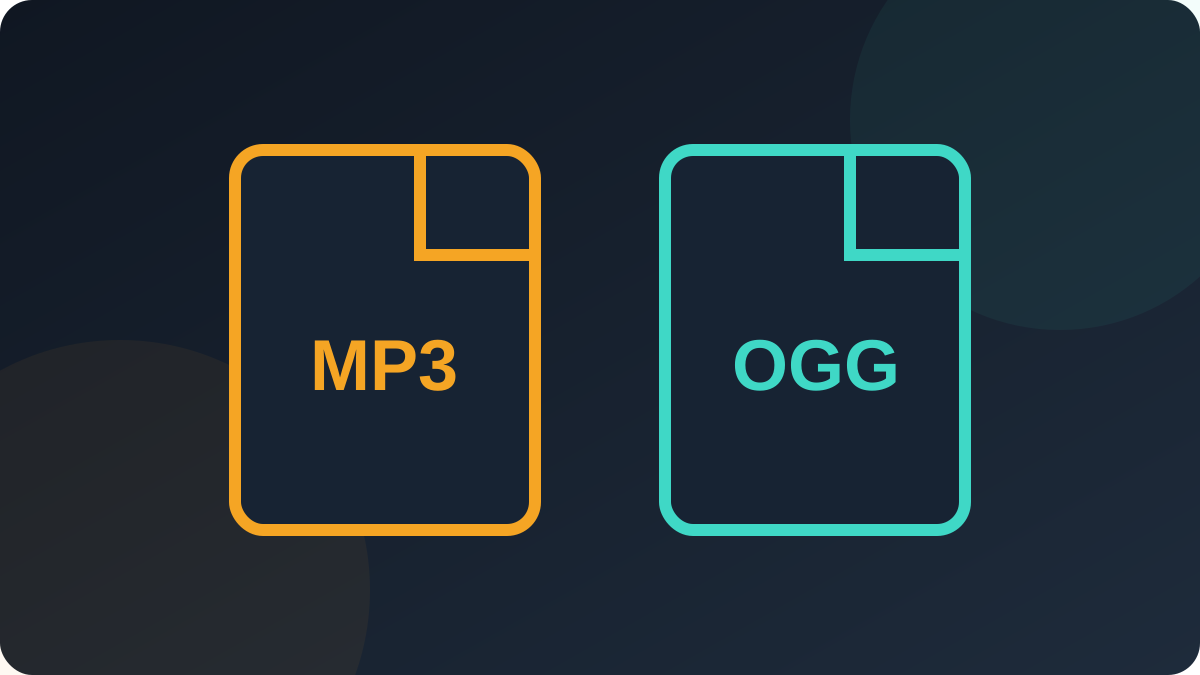
Every guide that says “just download the MP3” is wrong about iPhone. iOS only reads
ringtones in .m4r format, and only from a specific location. Here are the two working
routes.
Route one: GarageBand, no computer needed
- Download the MP3 in Safari. It lands in the Files app under Downloads.
- Install GarageBand from the App Store if it is not already there.
- Create a new Audio Recorder project, then open the loop browser and choose Files.
- Import the MP3 and drag it onto the timeline.
- Trim it to 30 seconds or less — iOS rejects anything longer.
- Tap the chevron, choose My Songs, long-press the project, then Share → Ringtone.
- Name it and tap Export. It now appears in Settings.
Route two: Finder or iTunes on a computer
- Open the MP3 in the Music app or iTunes and convert it to AAC.
- Find the resulting
.m4afile and rename the extension to.m4r. - Connect the iPhone, open it in Finder (macOS) or iTunes (Windows), and drag the file onto the device.
- Wait for the sync to finish.
Selecting the tone
Go to Settings → Sounds & Haptics → Ringtone. Custom tones appear at the top of the list, above the built-in ones. For a single contact, open the contact card, tap Edit, then Ringtone.
Common problems
- Tone is longer than 30 seconds — iOS silently refuses it. Trim first.
- Renaming did not work on Windows — file extensions are hidden by default. Turn them on in File Explorer's View menu before renaming.
- The tone appears but will not play — the file was renamed rather than converted. Changing the extension on an MP3 does not change the encoding.
Look for the iPhone-compatible label on the cards in this library. Those tones convert without audible artifacts.